
Last updated November 15, 2026
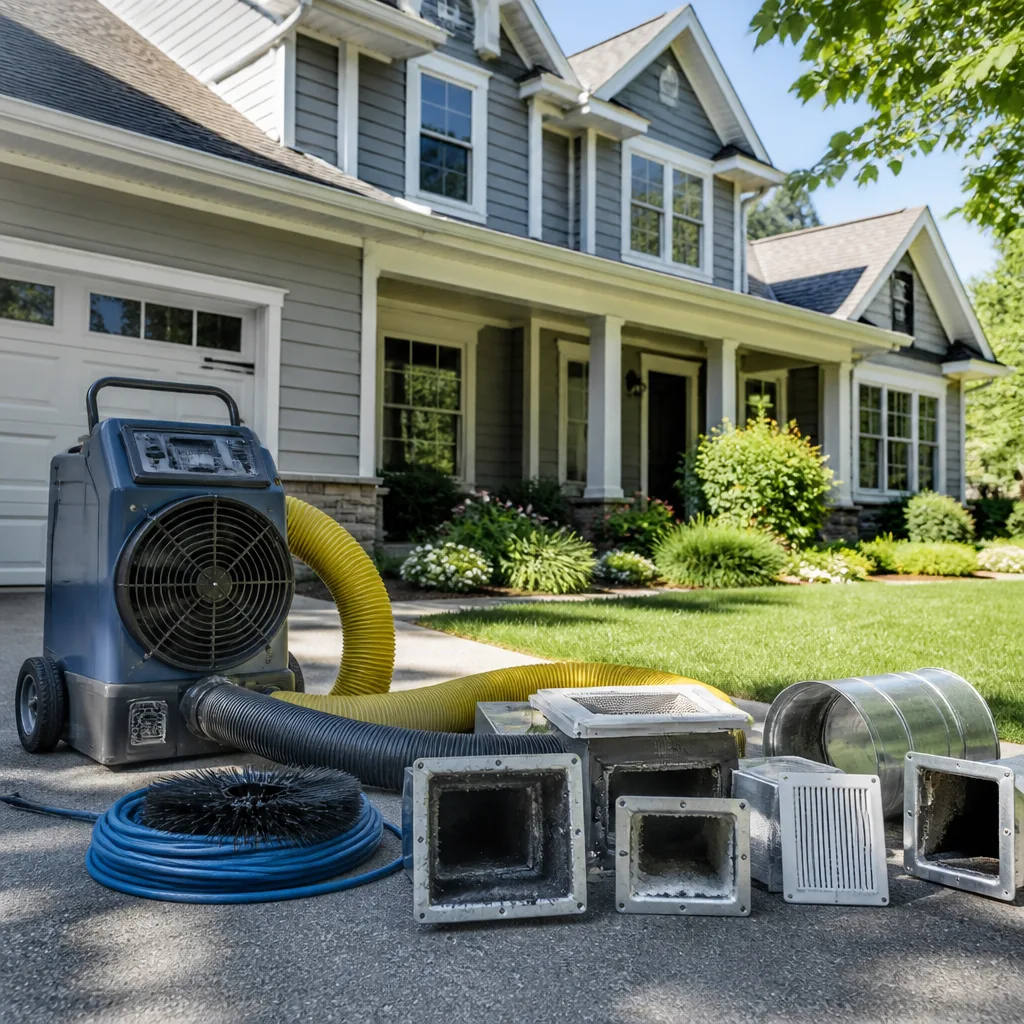 Whole-home duct cleaning
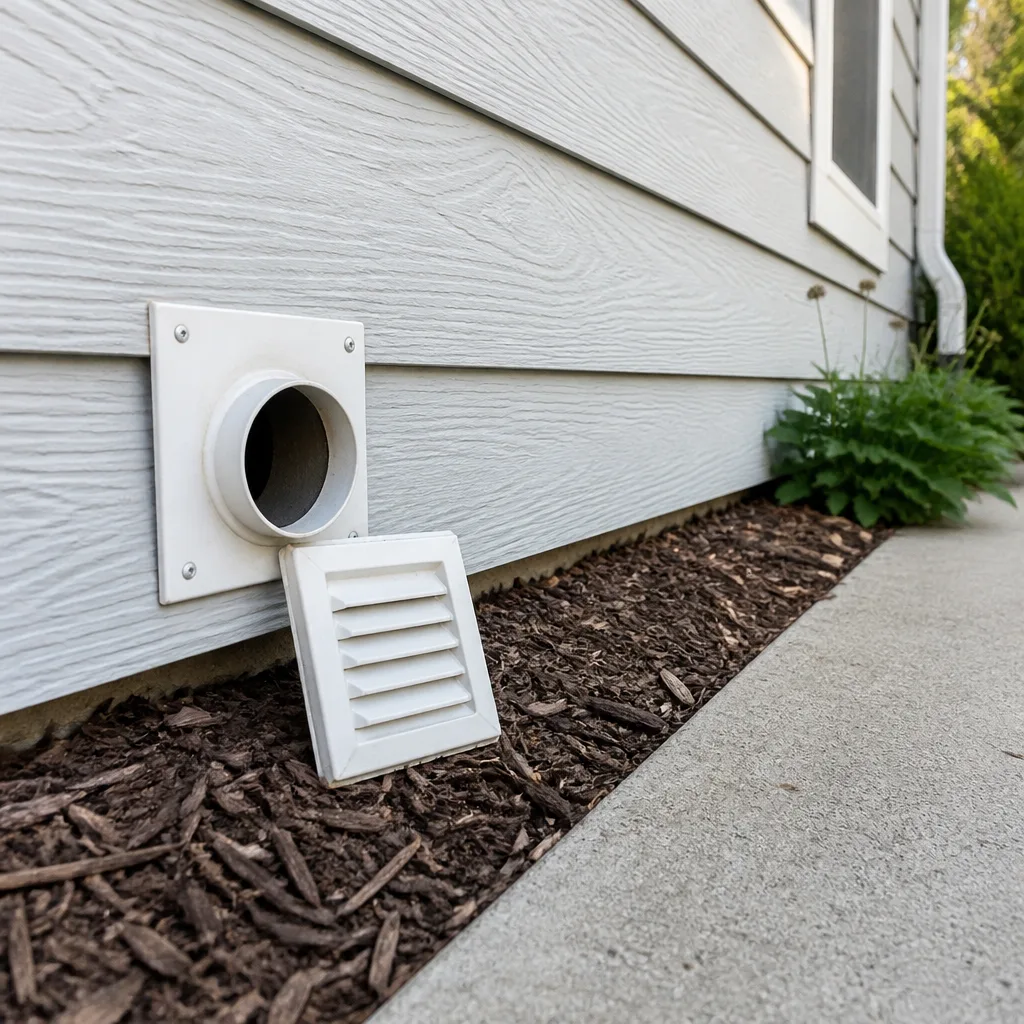 Dryer vent cleaning
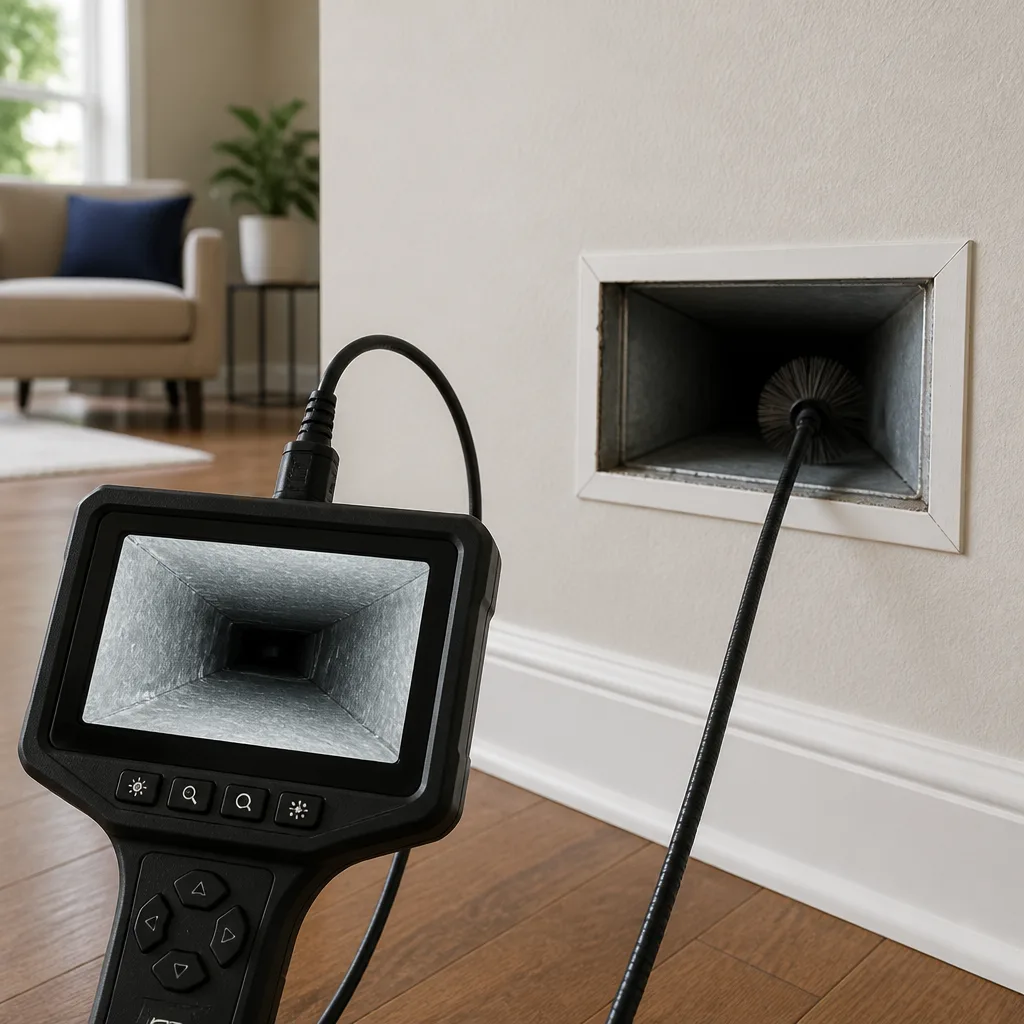 Camera inspection
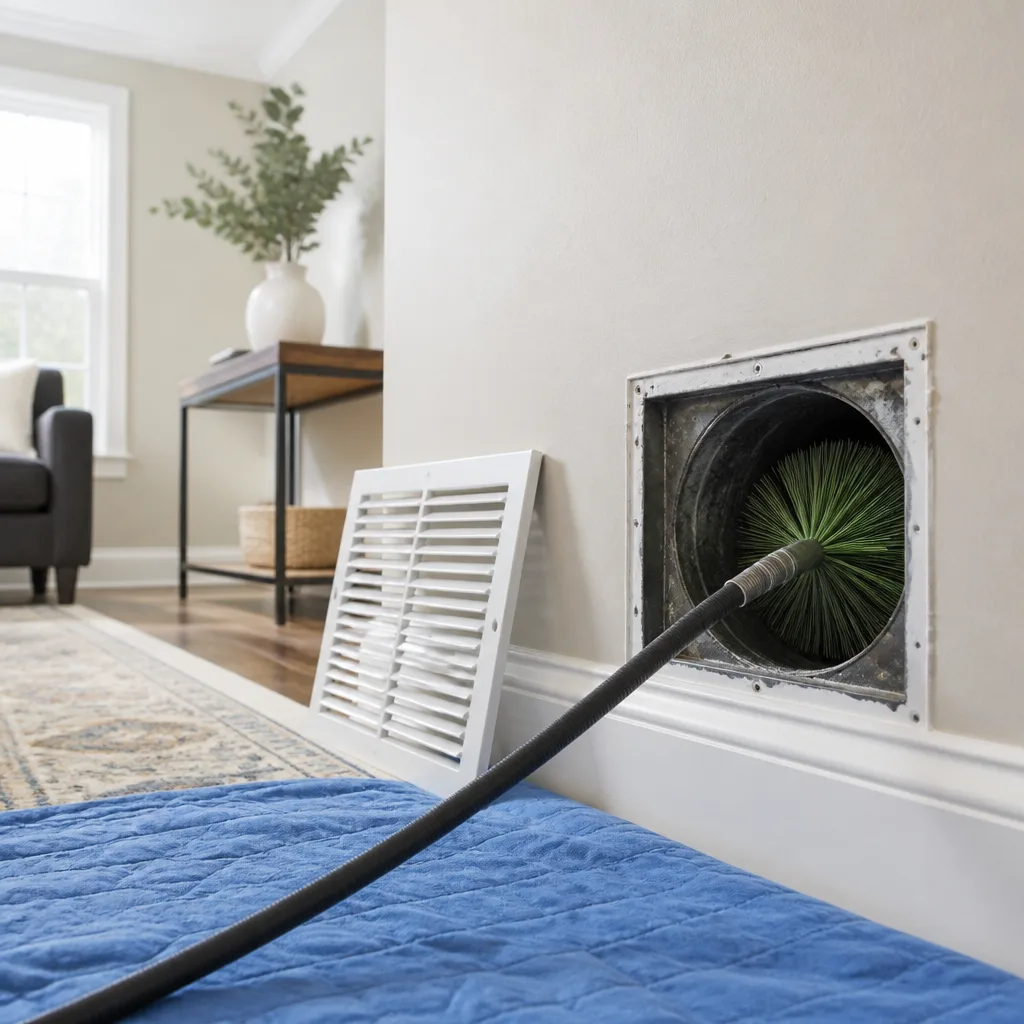 Sanitizing & deodorizing
Whole-system duct and dryer vent check with before-and-after photos - you see exactly what came out of your vents
That "$99 whole-house special" is a bait ad - the real number appears once they are in your hallway, or the "clean" is a shop-vac at the register. We photograph the inside of your ducts before and after instead.
Air Duct Cleaning Maintenance Checklist for Amarillo Homeowners
Most duct cleaning advice you’ll find online skips the part that matters: cleaning isn’t a routine errand you schedule by the calendar. The EPA is direct about this. Duct cleaning is not routinely necessary for most homes, and it should be driven by conditions, not by a coupon in your mailbox. Here’s what we’ve learned working Amarillo homes: the conditions that do make it necessary arrive faster and less predictably here than in most U.S. markets. Panhandle dust, wind that pushes particulate through every gap in a filter frame, and renovation debris all accelerate the timeline. What follows is a real checklist – event triggers, five no-tool signs to check yourself, filter guidance, and a baseline you can photograph and reference for years.
Quick Answer
Air duct cleaning in Amarillo is best triggered by events and evidence, not a fixed schedule: inspect within 72 hours after a major dust storm or a filter failure, check five physical signs (register dust, room-to-room airflow differences, sagging flex duct, return grille staining, first-cycle odor), and schedule professional cleaning when two or more signs persist after a filter change. Annual homeowner tasks are filter swaps, register wiping, and dated photo documentation. Cleaning that requires negative-pressure equipment and camera verification belongs to a trained crew, not a shop-vac.
Styles & brands we work with
- Whole-home duct cleaning
- Dryer vent cleaning
- Camera inspection
- Sanitizing & deodorizing
Table of Contents
- Why a Calendar Is the Wrong Tool for Amarillo Ducts
- Event-Triggered Checkpoints: The 72-Hour Rule
- The Five Physical Signs of Duct Contamination
- Filter MERV Ratings for Amarillo’s Particulate Profile
- Annual Tasks You Should Own vs. Tasks That Need Pros
- How to Photograph Your Ducts for a Real Baseline
- Post-Renovation and Post-Move-In Checks
- When Duct Damage Signals Repair, Not Cleaning
Why a Calendar Is the Wrong Tool for Amarillo Ducts
Amarillo sits in one of the most dust-active regions in the country. Panhandle winds routinely lift topsoil and transport fine particulate across the region, and that particulate doesn’t just settle on your patio furniture. It finds its way into return air, past filter edges, and into duct runs. The consequence: a maintenance schedule set to “once every three years” will produce very different results in Amarillo than it would in a humid climate with heavy vegetation.
The confusion comes from mixing two different systems. Your HVAC filter captures what it can in the air handler cabinet. Your ductwork carries whatever bypasses that filter, plus particulate introduced through leaks, poorly sealed boots, and return plenum gaps. The two systems need separate attention. Cleaner air starts inside the system, not at the filter.
What most homeowners actually need is a decision framework. When do you inspect? When do you clean? When do you repair? The answer shifts based on three local variables:
- Dust event frequency. A single large dust storm can load return systems faster than months of normal operation. The event matters more than the calendar.
- Filter discipline. A filter left past its change interval – or one that’s been bypassing air around its edges because the frame doesn’t seat well – feeds duct contamination continuously.
- House age and duct materials. Older homes with partial flex duct and hard-sealed joints have different contamination patterns than newer construction with rigid duct.
A schedule that ignores these variables will either clean too often (wasting money) or too rarely (allowing buildup to compound). Neither serves you. The checklist below is built around triggers – because in Amarillo, triggers are more reliable than timers.
Event-Triggered Checkpoints: The 72-Hour Rule
When a Panhandle dust storm rolls through, or when you discover your air filter has been crudded over for weeks, you have a 72-hour window to inspect. That window matters because dust that’s still freshly deposited in registers and boots is easier to capture (by you, with a vacuum attachment) before it cycles deeper into the return system through normal HVAC operation.
Here’s how to run the checkpoint:
- Shut down the system. Turn off the HVAC at the thermostat so you don’t pull settled dust back into circulation while inspecting.
- Check the filter. Pull it and hold it up to light. If you can’t see light through it, it’s done. Note the change date – use a marker directly on the filter frame edge.
- Inspect register faces. Wipe a white cloth across one supply register in the living area and one in the bedroom wing. Fresh, thick dust means the system is actively moving particulate. Light, faint coating is normal house settling.
- Look into supply boots where you can see them. A flashlight aimed into the boot reveals whether dust is loose inside the boot neck or stuck to the walls. Loose dust is more likely to be mobilized.
- Sniff. Run the fan on low for ten minutes and check for a musty, dusty, or metallic smell at multiple registers.
- Photograph what you found with a date stamp. Yes, this feels excessive. It pays off the next time you or a technician evaluates the system.
The same checkpoint applies after a filter failure – the kind where a filter’s been installed backwards, been crushed, or simply been left in place so long it collapsed inward. A filter failure sends a wall of particulate into the return plenum and can deposit a visible film on the air handler interior. A professional inspection with a camera is the right move when the filter failure is severe.
The Five Physical Signs of Duct Contamination
These are the signs a homeowner can check without any tools. If any are present after a filter change and a few days of normal operation, you have a reason to book an inspection. Two or more persisting signs is a strong signal.
1. Register dust pattern. Look at the wall or ceiling around all your supply registers. Dust streaks radiating from the register face – not just settling on top of it – suggests air is escaping around the boot or grille seal and carrying particulate with it. Streaking is the tell. A uniform light dust layer on the whole ceiling means a different issue (usually housekeeping or ambient dust), not duct contamination.
2. Airflow comparison by room. Hold a piece of tissue paper up to each supply register while the system runs. The tissue should lift and settle to roughly the same angle across registers. A register that barely holds it, or a room that consistently takes longer to heat or cool, suggests partial buildup or a duct restriction. That’s a repair signal as much as a cleaning one.
3. Visual flex duct sag. Where flex duct is visible in the attic or crawl space, look for sections that sag noticeably or kink at bends. A collapsed run doesn’t just reduce airflow – the sag is where dust settles and moisture collects. If you can see a sag from the access panel, it’s worth having the run inspected.
4. Return grille discoloration. Return grilles pull air in, so they collect contamination faster than supply registers. Look for dark staining radiating from the grille edges, a soft dark halo around the filter door frame, or visible particulate caught in the grille fins. Dark staining on a return grille is one of the most consistent signs of a system that needs attention.
5. Odor on first heat or cool cycle. The first time the system runs after a long idle period (first heat of the season, first cool cycle of summer), take a note. If the registers smell musty, like hot dust, or like a closed closet, that odor is being carried through the ductwork. Odor is the sign most likely to indicate microbial activity or moisture, both of which call for professional evaluation, not a homeowner attempt.
Filter MERV Ratings for Amarillo’s Particulate Profile
Filter choice is where we see the most self-inflicted problems in Amarillo homes. Overreaching on filter efficiency can hurt more than it helps, and in this market – where dust loads are high and filter change discipline sometimes isn’t – it happens often.
MERV (Minimum Efficiency Reporting Value) measures how effectively a filter captures particles in a size range. Higher MERV means finer filtration, but also more air resistance. That resistance is the issue for older systems.
- MERV 6-8: Basic capture of dust, lint, and larger particles. Works well on most standard residential systems, creates modest airflow restriction, and handles the typical Amarillo dust load if changed on schedule. This is where most Amarillo homes should live.
- MERV 11-13: Higher capture of fine particulate, including the sizes that align with dust storm loads. Appropriate for newer, higher-static systems that can handle the pressure drop. Homes with newer air handlers and rigid duct systems can usually accommodate this range.
- MERV 16 or higher: Beyond what a standard residential system can handle without a dedicated higher-static air handler. Installing a MERV 16 in a system designed for MERV 8 is a recipe for reduced airflow, coil icing, and compressor strain.
The specific filter size matters less than the seating. A MERV 13 filter that doesn’t seat properly in its frame allows filter bypass – the particulate flows around the filter, not through it. We’ve seen homes with premium filters and dusty ducts for exactly this reason. Check that the filter slides into the rack with minimal gap along the sides and top, or add foam gasket tape to close the gap. That single step often does more for duct cleanliness than upgrading the MERV rating.
In Amarillo’s dust-heavy environment, plan on more frequent filter changes than the manufacturer’s label suggests. During high-wind periods, check the filter every three to four weeks rather than waiting for the calendar.
Annual Tasks You Should Own vs. Tasks That Need a Pro
Splitting this list properly prevents both wasted money and real risk. Some tasks are genuinely homeowner-safe. Others require negative-pressure equipment, camera verification, or physical access to spaces you shouldn’t try to navigate.
Annual tasks to own:
- Filter changes. Match change intervals to actual filter loading, not a fixed date. Mark the filter’s edge with the install date in marker. Expect more frequent swaps during high-wind months.
- Register and grille cleaning. Vacuum the register faces and grille fins with a brush attachment. Use a slightly damp cloth to wipe the surrounding wall or ceiling. Do this quarterly, or after any major dust event.
- Return grille removal and inspection. Many return grilles lift out with two tabs. With the system off, remove the grille, vacuum the inside face, and use a flashlight to inspect the return boot and visible duct interior. Photograph what you see.
- Exterior vent check. Walk around the outside of the house and confirm intake and exhaust terminations are clear of debris, nests, and vegetation. Blocked exhaust means the system can’t breathe.
- Dated photo documentation. Photograph registers, return grilles, filter condition, and any visible duct runs each time you do this. This is your baseline data set for the next inspection.
Tasks that need a professional:
- Interior cleaning of duct runs. This requires negative-pressure equipment and rotary brushing to actually capture debris rather than redistribute it. A shop-vac inside the vent only recirculates fine particulate into the room.
- Camera verification of duct interiors. A trained technician running a camera through the system can identify contamination, damaged duct liner, pest intrusion, and collapsed flex runs that can’t be seen otherwise.
- Air handler and coil cleaning. The interior of the air handler and evaporator coil is a high-risk area for homeowner intervention. Coil cleaning in particular should not be attempted without proper equipment and training.
- Duct repair. Separated joints, crushed flex sections, and failed boots require repair before cleaning is meaningful. Clean a system with open joints and the contamination comes right back.
When it’s time to schedule, a proper air duct cleaning visit should include negative-pressure containment, rotary brush agitation, and camera verification. The same team should be able to identify duct damage and fix it, not hand you a referral.
How to Photograph Your Ducts for a Real Baseline
A photograph without a date and a location is just a picture. Homeowners who document their duct condition properly walk into the next inspection with real evidence. That changes the conversation from “trust us, it’s dirty” to a shared set of reference points.
Here’s the documentation protocol we recommend:
- Create a folder on your phone named “ducts – [date]”. Date-stamp the folder name. The photos carry metadata, but the folder name gives you an easy sort later.
- Photograph every register. Wide angle, showing the register and the surrounding wall or ceiling. Include the room name in the shot if you can – an easy way is a sticky note placed beside the register.
- Photograph each return grille. One shot straight on, one shot with a flashlight raking across the grille surface. The raking shot reveals surface contamination the straight shot doesn’t.
- Photograph the filter in place and pulled out. A before-and-after of the filter edge by the change date sticker tells you the actual change interval in practice.
- Photograph any visible duct runs. Attic access panels and crawl space openings where ductwork is visible are worth a photo each time. Note any sag, kink, or separation you see even if it looks minor.
- Store a written note with the folder. A short note – filter type and MERV, change date, anything unusual (recent dust storm, renovation, filter failure) – makes the photos useful later.
Repeat the same shots at each inspection. That makes comparison meaningful. When a technician walks in and you can pull up a dated baseline showing what the registers looked like six months ago versus now, the need for cleaning or repair is obvious rather than assumed. This is also where before-and-after photos from the technician matter – ask for dated photos of your own ducts before and after the work, not a stock image on a brochure.
Post-Renovation and Post-Move-In Checks
Two more triggers belong on the checklist, and both are easy to overlook. The first is renovation. Any project that involves drywall cutting, sanding, demolition, or significant sawing generates fine particulate that circulates through the home’s HVAC system within days. Even with plastic barriers and negative-air machines, some debris reaches the return system. Inspect registers and filter within 72 hours of the project’s finish – and again after any final sanding of plaster or drywall. We’ve seen homes where the ducts were clean, a kitchen renovation happened, and the ducts were visibly dusty within a month.
The second is moving into a home you didn’t previously occupy. You don’t know the filter change habits of the prior residents, and you don’t know the dust history. The first 30 days in a new home should include a full inspection and a filter change, plus a photo baseline. That baseline becomes your reference for every inspection after.
These two triggers plus dust storms and filter failures cover roughly 90% of the reasons we get called for duct cleaning in Amarillo – which is a strong argument for organizing the whole checklist around triggers rather than a calendar.
When Duct Damage Signals Repair, Not Cleaning
Some problems look like cleaning problems but are actually repair problems, and cleaning them won’t help. If your ducts have any of the following, repair should come before (or alongside) cleaning, or the contamination will return:
- Separated joints at the boot or plenum connection. Air leaks at joints pull dust from unconditioned space directly into the system. Cleaning without resealing just re-contaminates.
- Crushed or kinked flex duct. A crushed run has reduced airflow and a low spot where dust accumulates. It also stresses the blower. Repair the run before cleaning the system.
- Torn duct liner. Duct liner is the fiberglass insulation inside some rigid ductwork. When it tears, it sheds fiberglass particles into the airstream. This is a repair issue, not a cleaning issue.
- Pest intrusion. Rodent or bird activity in duct runs leaves contamination requiring more than a standard clean, and openings must be sealed. This is a repair-then-clean scenario.
- Visible moisture or standing water in a run. Moisture is a red flag, and it points to a source that needs fixing – not a cleaning.
This is why we inspect before we quote, and why a real quote for air duct cleaning in Amarillo should be based on what’s actually in your system, not a flat figure printed on a postcard. If your ducts need repair, we offer that as a distinct service – air duct repair – so the fix happens once, and cleaning has something to protect.
One more repair-adjacent note: if you’re also concerned about fire safety, a separate dryer vent cleaning visit is worth scheduling. Dryer vents are a distinct system with a distinct risk profile, and they need their own attention independent of duct cleaning.
Common Mistakes to Avoid
- Cleaning on a fixed schedule instead of on triggers. A homeowner who cleans every three years may be wasting money – or going three years too long – depending on dust events and filter discipline. Inspect on triggers, clean on evidence.
- Upgrading to MERV 16 on a system designed for MERV 8. Higher MERV is not automatically better. The airflow restriction from an oversized filter can stress the blower and freeze the coil. Match the filter to the system.
- Ignoring filter bypass. A premium filter that doesn’t seat properly in its frame lets particulate flow around it. Check the seal before you pay for the upgraded filter media.
- Renting a shop-vac and calling it cleaning. A shop-vac inside a vent recirculates fine particulate into the room. Negative-pressure containment is what actually captures the contamination.
- Skipping the camera inspection. A cleaning without camera verification gives you no proof of what was in the system or what’s left after. Ask for it.
- Not documenting the before condition. Without dated photos you have no baseline, and the next inspection has to start from zero. Photograph the before state every time.
- Cleaning a damaged system without repairing it first. Open joints and crushed flex re-contaminate the system within weeks. Repair first, clean second.
See the difference
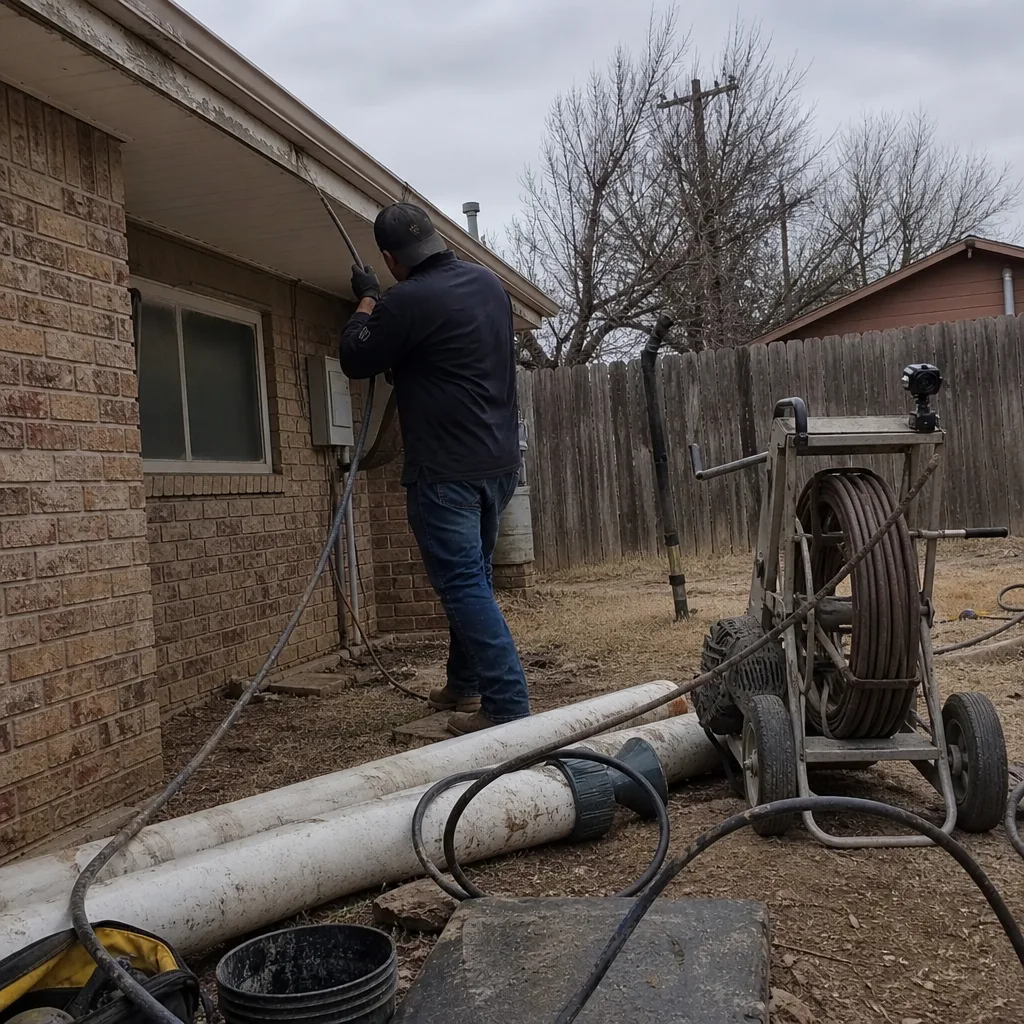 Before
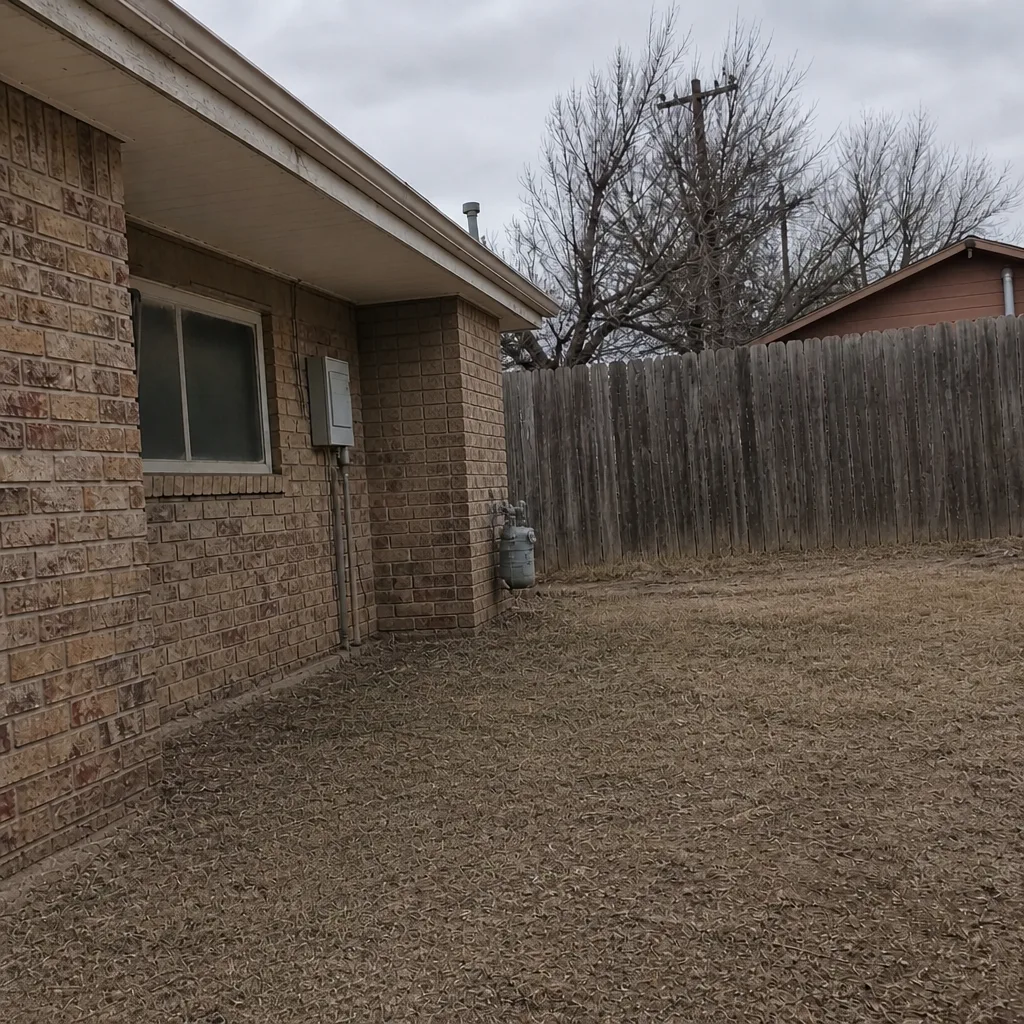 After
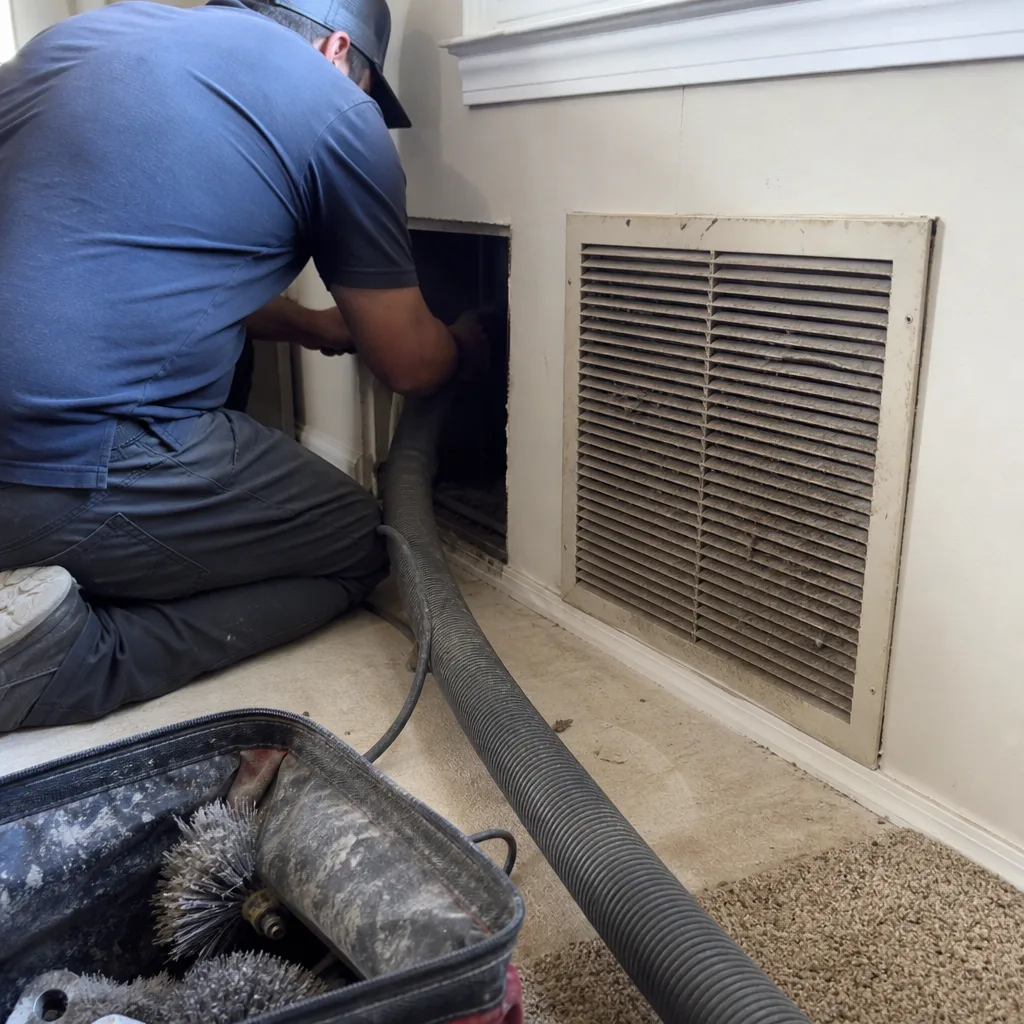 Before
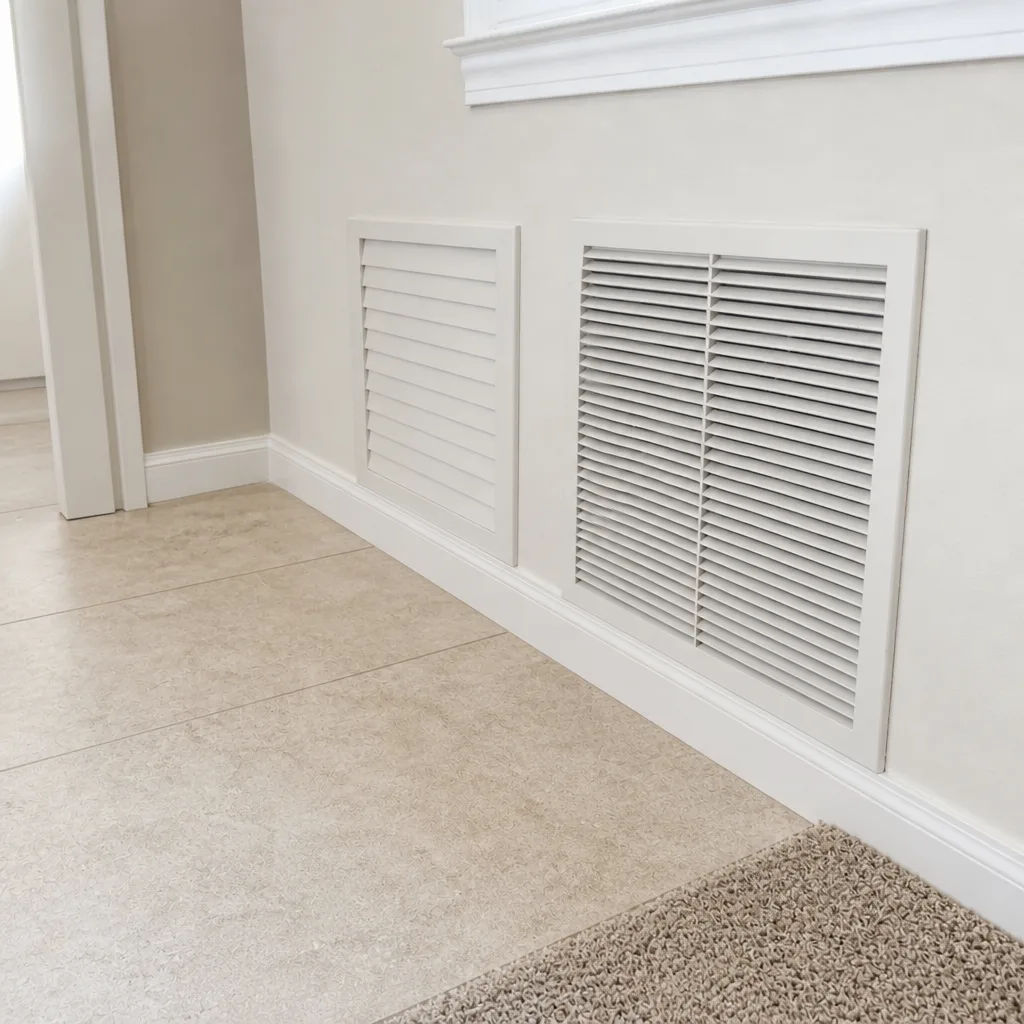 After
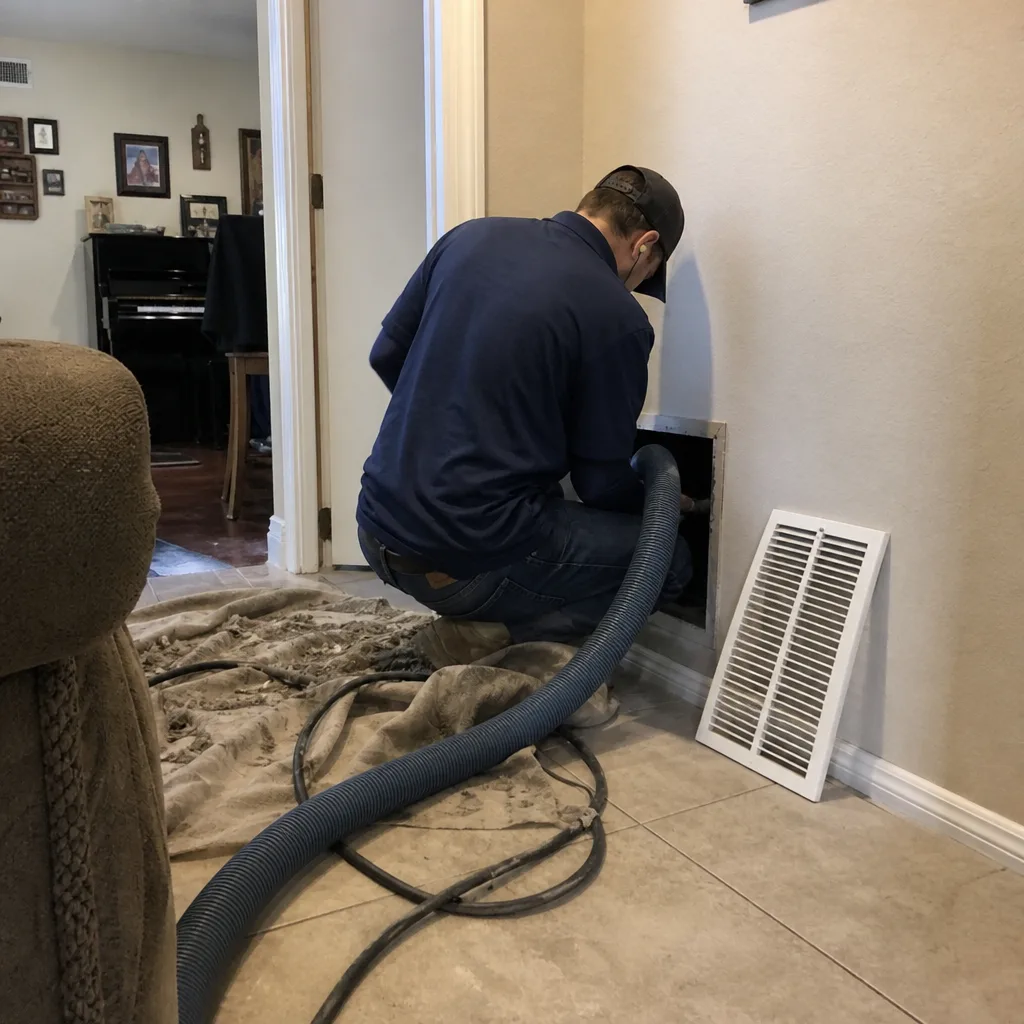 Before
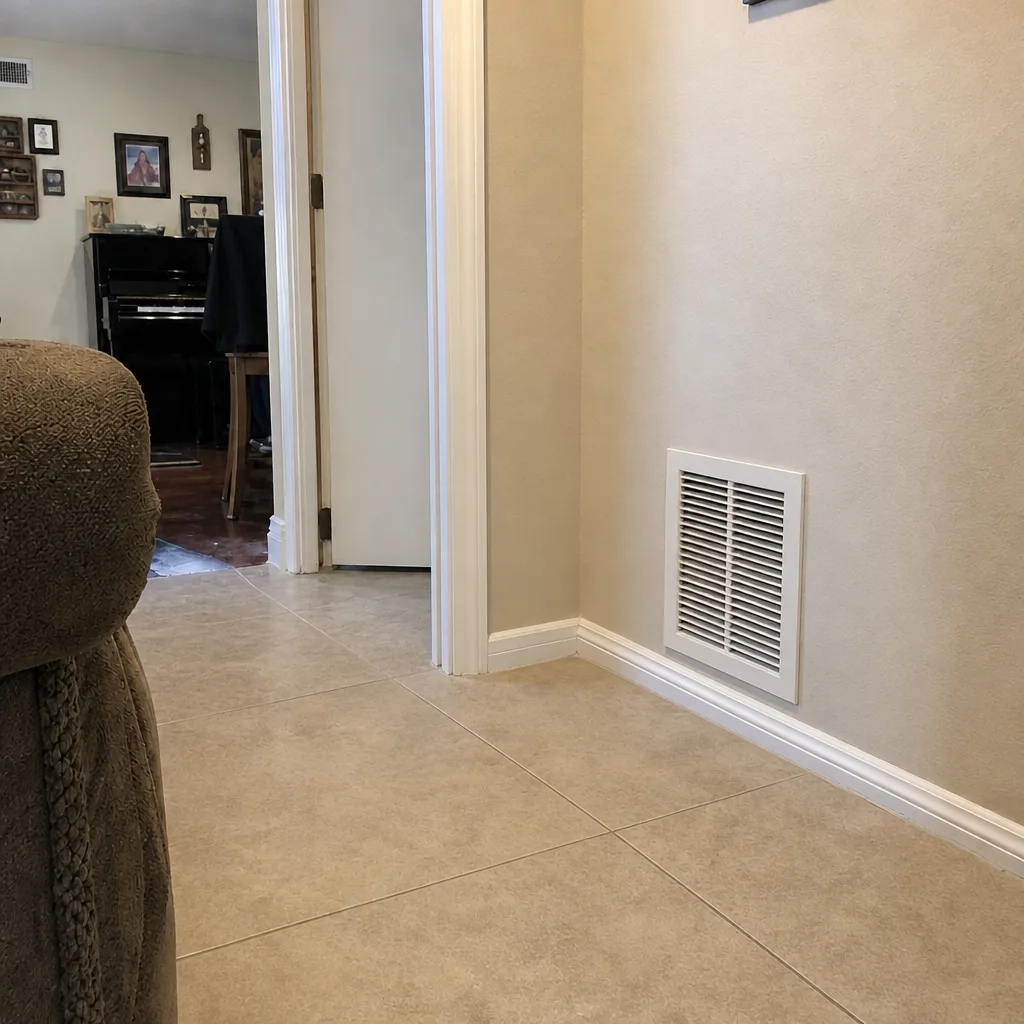 After
When to Call a Professional
Some conditions push past what a homeowner should handle and into territory that needs proper equipment and a trained eye. Call us when: two or more of the five physical signs persist after a filter change and a few days of normal operation; you’ve had a major dust storm or filter failure that visibly loaded the registers; a renovation project just finished and registers are showing fresh dust; you notice a musty or metallic odor carried through registers; or you can see sagging, kinked, or separated flex duct in the attic or crawl space. Odor and visible duct damage in particular warrant an inspection with a camera before anyone quotes a service.
Duct Cleaning Amarillo offers free estimates in Amarillo – call (866) 389-4505 to schedule. Our technicians have up to 9 years of experience, and we use Rotobrush and Nikro equipment with negative-pressure containment, camera verification, and before-and-after photos of your own ducts. We answer 24/7. Fast dispatch from 7am to 7pm, Sunday through Friday.
Frequently Asked Questions
There’s no fixed interval that fits every Amarillo home. Base the decision on conditions: inspect within 72 hours after a major dust storm or filter failure, check the five physical signs quarterly, and schedule cleaning when two or more signs persist. In this dust-heavy market, many homes benefit from professional inspection every couple of years – but cleaning should be based on evidence, not the calendar. Call (866) 389-4505 for a free estimate if you’re unsure.
It helps when contamination is measurable. If your ducts are harboring visible particulate, dust, or biological growth, cleaning removes the reservoir that keeps circulating it every time the system runs. It’s not a cure for seasonal allergy symptoms, but a clean system plus proper filtration is a meaningfully better setup than a contaminated one. Call (866) 389-4505 to schedule an inspection so we can tell you what’s actually inside the runs.
For most standard residential systems in Amarillo, a MERV 6-8 filter changed on a strict schedule outperforms a higher-MERV filter that’s left in too long or doesn’t seat properly. Newer, higher-static systems can typically handle MERV 11-13. Avoid MERV 16 in a standard system – the airflow restriction can cause coil icing and blower strain. Check the frame seating as carefully as the rating. Call (866) 389-4505 if you want us to look at your filter setup alongside a full duct inspection.
Low advertised prices usually mean the cleaning scope is low – often a single-pass vacuum, no camera verification, no containment, and per-vent pricing added on site. Professional cleaning requires negative-pressure containment, rotary brushing, and camera documentation, which carries a real cost. If a quote is dramatically below market, ask exactly what equipment is used and whether the property-owner receives before-and-after photos. Call (866) 389-4505 for a written estimate we can stand behind.
Ask for three things: camera verification of duct interiors before and after the cleaning, dated photographs of your own registers, boots, and duct runs, and a written scope that names the equipment used (Rotobrush and Nikro are the standard names to ask about). A company that can’t or won’t provide those is telling you something. Our estimates are free – call (866) 389-4505 to get started.
You can do useful things yourself – vacuum register faces, change the filter, wipe grille fins, and inspect the boot interior with a flashlight. Those tasks genuinely help. But you can’t clean inside the duct runs without negative-pressure equipment, and a shop-vac in the vent recirculates fine particulate back into the room. For anything past the boot, book a professional inspection. Call (866) 389-4505 – estimates are free.
The Bottom Line
A duct maintenance checklist for Amarillo is a decision tree, not a calendar. Trigger inspections on dust storms, filter failures, and renovation finish dates. Check the five no-tool signs quarterly. Choose a MERV rating that matches your system, and check the filter seating as carefully as the media. Handle the homeowner-safe tasks (filter changes, register cleaning, flashlight inspections, dated photographs) and hand off the tasks that need equipment – negative-pressure cleaning, camera verification, repairs. Repair before cleaning when the duct system is damaged. Document a baseline so the next decision is based on evidence, not a sales pitch. When you need professional inspection or cleaning, our team at Duct Cleaning Amarillo is ready. Call (866) 389-4505 for a free estimate. We answer 24/7. Fast dispatch from 7am to 7pm, Sunday through Friday.
Written by the team at Duct Cleaning Amarillo.